Vue3でアニメーション(Web Animations API)を使ってみた

こんにちはSadoです。
今回はVue3で開閉処理を行う際に、「Web Animations API」(JavaScript)を使ってゆっくり開閉するアニメーションを作成してみます!
純粋に宣言した CSS とは違って、Web Animations APIを用いる場合 はプロパティからアニメーション時間を動的に設定することが出来るみたいです。
やること
シンプルに開閉ボタンと開いたときに表示される要素を用意して、そこにアニメーションを付け加えていきたいと思います。
準備
表示用のファイル(親)とアニメーション処理を書くファイル(子)に分けておきます。
Vue3.2の<script setup>構文を使用しております。
CSSはTailwindを使用。
<script setup lang="ts">
import Child from "./Child.vue";
import { ref } from "vue";

const open = ref(true);
</script>

<template>
<Child :open="open" />
</template>
<script setup lang="ts">
import { ref } from "vue";
const props = defineProps<{
open: boolean;
}>();
const open = ref(props.open);
</script>
<template>
<section>
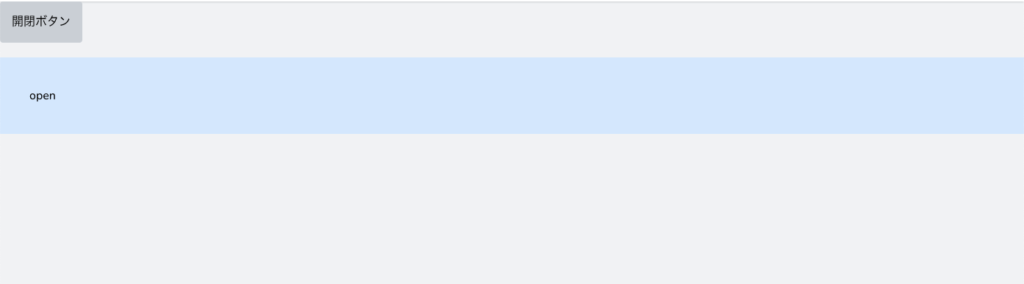
<button class="bg-gray-300 rounded p-4 mb-5">
開閉ボタン
</button>
// デフォルトで開いている状態
<p class="bg-blue-100 p-10">open</p>
</section>
</template>開閉ボタンと開閉部分の要素を準備(デフォルトで開いておく)
実際にやってみる
ここから開閉処理と、開閉したときのアニメーションを付け加えていきます。
開閉処理追加
ここでは、開閉処理をボタン要素をクリックすることで開閉が動作するように処理を追加。
<script setup lang="ts">
import { ref } from "vue";

const props = defineProps<{
  open: boolean;
}>();

const open = ref(props.open);
</script>

<template>
  <section>
    <button class="bg-gray-300 rounded p-4 mb-5" @click="open = !open">
      開閉ボタン
    </button>

    // デフォルトで開いている状態
      <div v-if="open">
        <p class="bg-blue-100 p-10">open</p>
      </div>
      <div v-else></div>
  </section>
</template>
アニメーション追加
アニメーションを行いたい要素である、開閉部分のdivタグを<transition>で囲む。
そして、@enterと@leaveをつけることでscript内に記述してある、enterとleaveのアニメーション処理が行われる。
<script setup lang="ts">
import { ref } from "vue";

const props = defineProps<{
  open: boolean;
}>();

const open = ref(props.open);

// 開くとき
async function enter(el: Element, done: () => void) {
  el.classList.add("overflow-hidden");

  await el.animate(
    [
      {
        height: 0,
      },
      {
        height: `${(el as HTMLElement).offsetHeight}px`,
      },
    ],
    {
      duration: 500,
      easing: "ease-out",
    }
  ).finished;

  el.classList.remove("overflow-hidden");

  done();
}

// 閉まるとき
async function leave(el: Element, done: () => void) {
  el.classList.add("overflow-hidden");

  await el.animate(
    [
      {
        height: `${(el as HTMLElement).offsetHeight}px`,
      },
      {
        height: 0,
      },
    ],
    {
      duration: 100,
      easing: "ease-out",
    }
  ).finished;

  el.classList.remove("overflow-hidden");

  done();
}
</script>

<template>
  <section>
    <button class="bg-gray-300 rounded p-4 mb-5" @click="open = !open">
      開閉ボタン
    </button>

    // デフォルトで開いている状態
    <transition @enter="enter" @leave="leave">
      <div v-if="open">
        <p class="bg-blue-100 p-10">open</p>
      </div>
      <div v-else></div>
    </transition>
  </section>
</template>
height: ${(el as HTMLElement).offsetHeight}px,の部分では、開閉する際の要素の高さを取得しています。
enter(開くとき)では開く際の要素の高さ(0px)から、今回用意したdiv要素の高さ分までを指定。
そして、duration: 500の指定によって、開いたときにゆっくりと開かれているのが確認できました。
   [
      {
        height: 0,
      },
     {
        height: `${(el as HTMLElement).offsetHeight}px`,
     },
   ],
  {
      duration: 500,
      easing: "ease-out",
    }